Maslow CNC Upgrades To Increase Accuracy
Z-Axis
Depending on whether or not you purchased the Z-Axis option (and you should have) it's still not quite perfect. In my case I'm using the Rigid R2202 router and the Z-Axis option for this model makes use of the existing adjustment knob which works good in theory but there's a lot of slop in it especially when changing direction (going between raise and lower functions).
Here are some things to improve the accuracy and reliability of the Z-Axis significantly.
Smooth and deburr router body and base. Clean, and wax.

- Disassemble the router body from the base (1). Clean the mating surfaces looking for any parts of metal-on-metal contact that may exist, file over if necessary. It may also benefit from working the mating surfaces with a maroon/red Scotch-Brite pad.
- Apply paste wax to the router body and the housing (1) where there would be metal-on-metal contact. This will help to ensure smooth movement. Instead of paste wax. Instead of paste wax, you may also use UHMW tape 3 lines 120deg from each other down the long axis of the router body. https://www.mcmaster.com/#76445A761
- With the Depth Interlock Lever (6) disengaged from the router body, and the collar handle closed (17) attempt to move the router up and down. If you can not do this while the handle is closed, slightly back out the adjustment screw (20) until it starts to move freely but is not sloppy. Then re-home the router and engage the worm gear latch (6)
Fix sloppy Z lead-screw assembly
Few different options here, this is the route I went based on the research and feedback from forum user arnoldcp
- Obtain some suitable sleeve bearings these have a 0.5" ID and a 0.625" OD
- Remove the locking tab (8) and using a step drill, enlarge the hole of each side of the Depth Interlock Lever (6) to 0.635" (5/8") and about 1/8" deep on either side. Be sure to leave some material to act as a shoulder for the sleeve bearing.
- Insert the sleeve bearings on either side of the interlock lever, test for fit. Ultimately we will epoxy the sleeve bearings to the interlock lever (6).
- Once satisfied with the fit, and ensuring the locking tab will still work properly, degrease all parts and epoxy the sleeve bearings to the interlock lever. Be sure to remove the locking tab during this operation.
- Install some shim washers (1 worked perfect for me) between the router body and bottom of worm gear shaft (9). This should eliminate any up/down slop. You'll probably need a couple but it just depends on manufacturing quality at the time. The ID of the washer is 8mm OD probably isn't all that important but 13mm seems fine. Thickness will vary, which is why I used shim washers. You could also sand or file down a standard washer if you have one the right ID/OD.
Secure interlock lever, if you have a drill press it'll probably be better. The material is magnesium though and works really easily. I started my step drill by hand a few revolutions just to get things lined up.

Drill slowly and check your progress often. The step drill will keep the bit centered (which is why I like to use it) but you need to be careful to not bore out the entire hole. We want a place for the sleeve bearing to stop when when we epoxy it in.
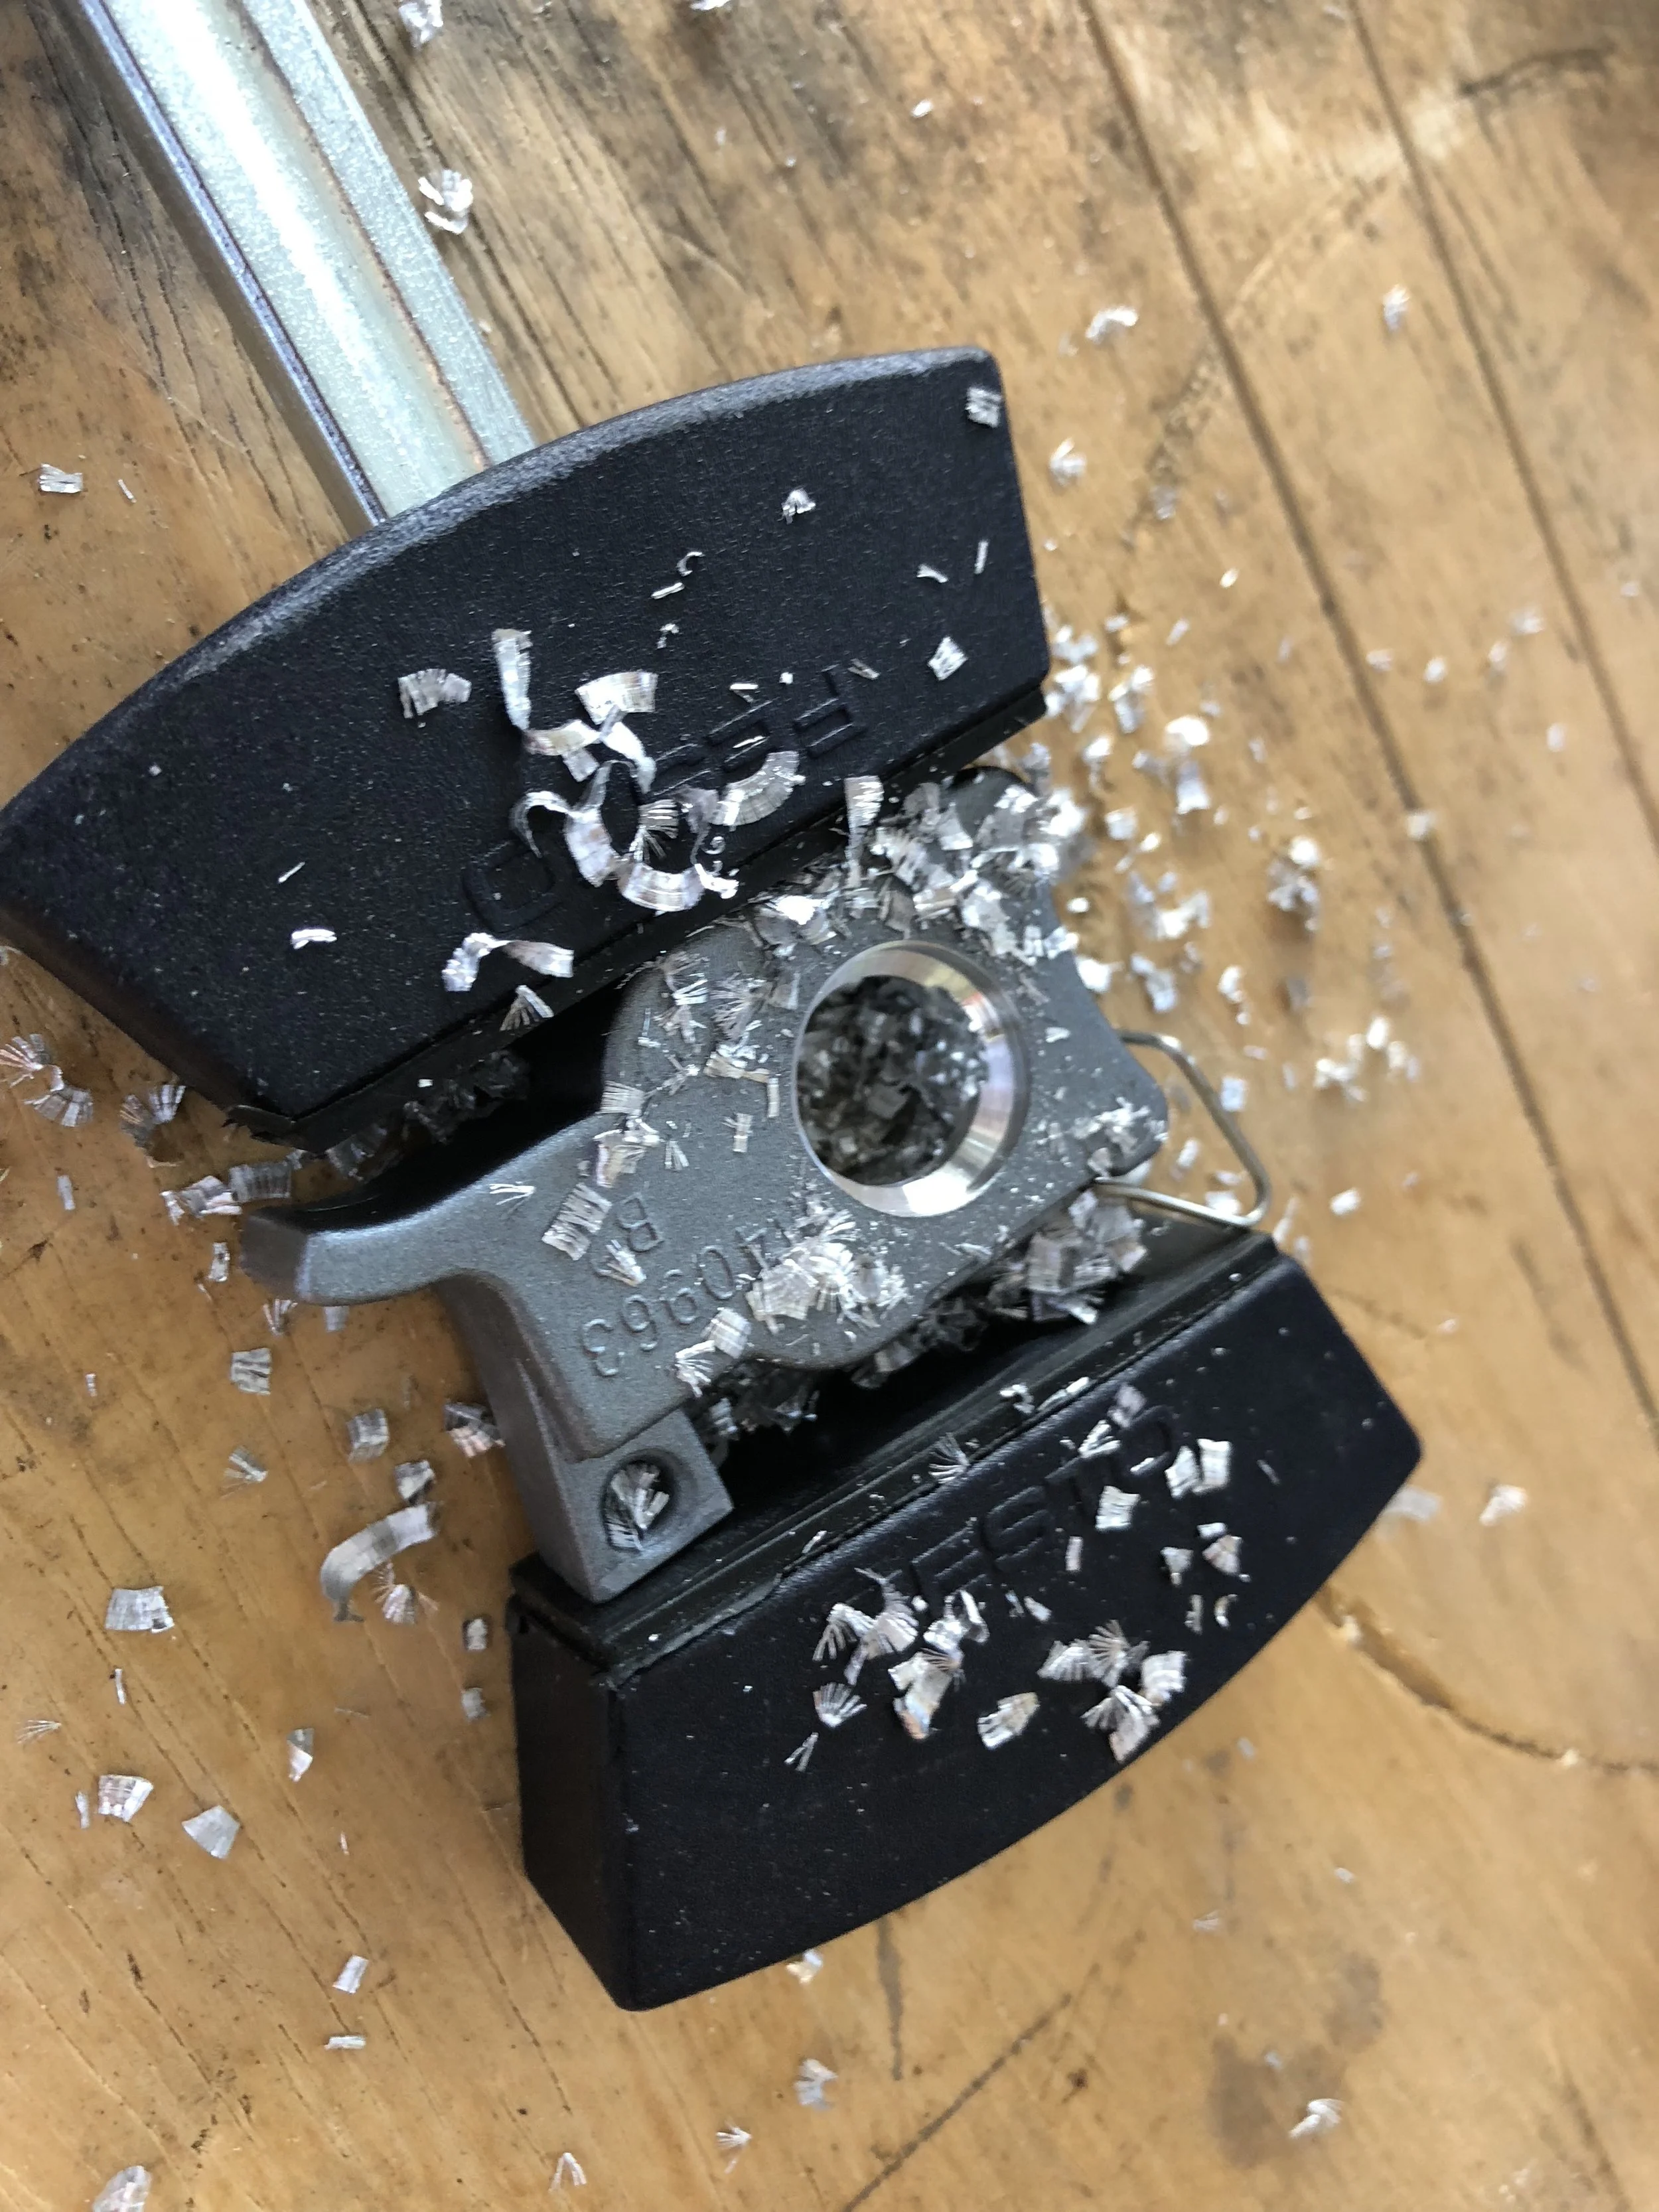
Beautiful chips. We could probably go further here but no need.

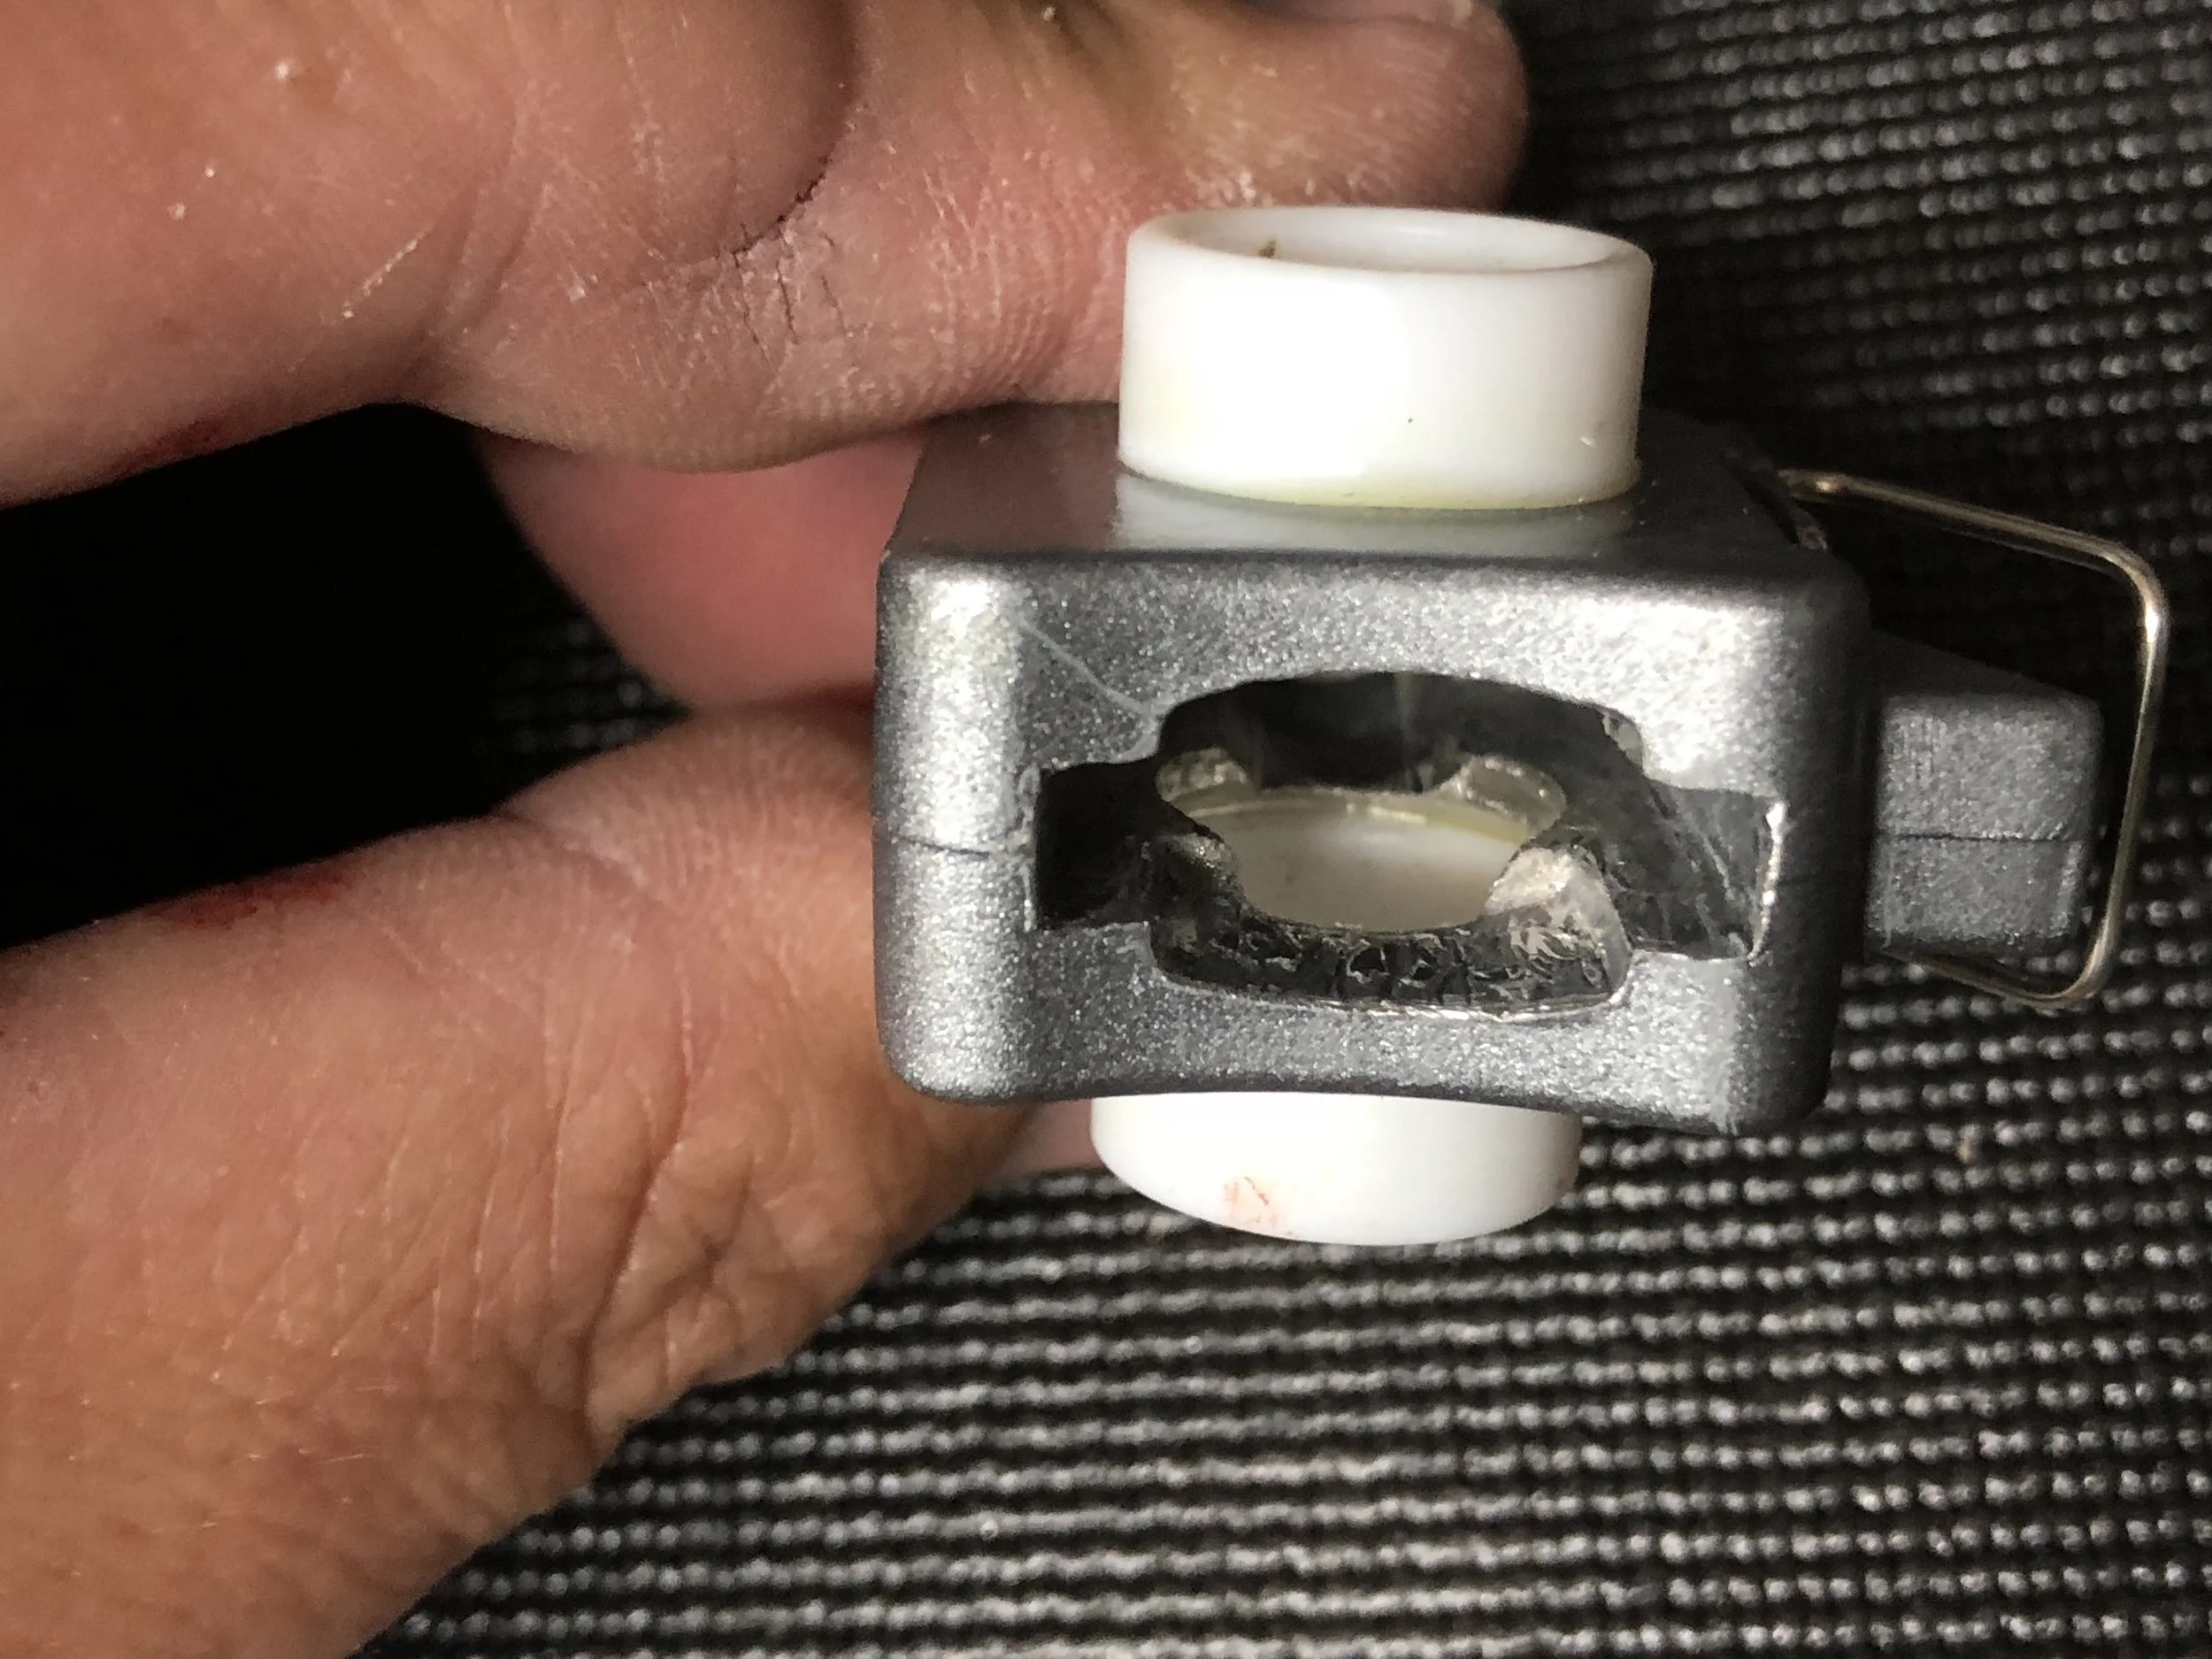
Test fit the bearing to make sure it fits properly. Then flip it over and repeat the other side.

Good to go, now ready for degreasing (acetone maybe) and epoxy!

Quick test fit before epoxy just to make sure everything still lined up. I would recommend doing this so you can make any corrections. It should be pretty smooth but with a lot less slop than before. Also note that the bearings are not intruding into the channel where the orange mechanical fuse will live.
This part is a bit tricky, showing the finished product. When you epoxy the sleeve bearings the epoxy will want to run everywhere. Be somewhat sparing but make sure you cover all the mating surfaces and wipe up any excess before it has a chance to set. In my case, I had some leak into the channel for the orange mechanical fuse that I had to scrape and file out. Not a huge deal and easy to fix but if you can prevent it even better. I used a toothpick to apply the epoxy in the hole and then around the bearing once it was inserted into the hole than I set it aside for a day.

Testing the mechanical fuse travel. You may need to do some scraping and filing of epoxy if any is blocking it's path.
And the finished product. Note the blood on the sleeve bearing, this is how you know it's good.
Add some pre-load to the Z axis
I did this initially but I'm not running it this way currently. However this is something very simple like rubber bands or a bungee cord. Just need some tension on top of the router. I connected mine around the router base. Not pretty but it worked... I don't think you want a lot of tension here, just a little.

References:
http://maslowcommunitygarden.org/Inexpensive-add-ons-for-z-axis-slack-imprecision.html
https://forums.maslowcnc.com/t/z-axis-only-moving-the-router-some-of-the-time/133/16
https://cdn2.ridgid.com/resources/media?key=09f9c438-97f3-432b-b1f8-06304f469e11&languageCode=en&countryCode=US&type=document